

Completing your setup checklist
The setup checklist on your dashboard walks you through the essentials so your team can start quoting with confidence.
Overview
Section titled “Overview”When you first open Quotivity Studio, your dashboard shows a Setup checklist that tracks your progress through the essentials. Working through it in order is the fastest way to get your team quoting. This article walks through each step.
Prerequisites
Section titled “Prerequisites”- An Admin role in Quotivity Studio
- Your Quotivity app installed in your HubSpot instance
- Open the dashboard. From anywhere in Quotivity Studio, click the
Quotivity logo or Home. The Setup checklist appears with each task
and its current status.
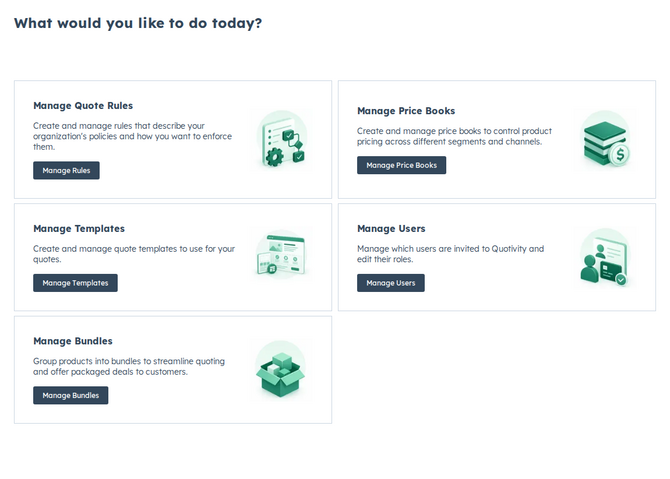
- Configure your sender companies. This is the company information — name, address, and branding — that appears on your quotes. See Setting up Sender Companies.
- Enable your users. Invite the teammates who will build and approve quotes, and set each person’s role. See Managing users.
- Create your first Quote Rule. Even a simple rule — like requiring approval over a discount threshold — shows the engine working. See Creating a Quote Rule.
- Create your first Price Book. A price book sets the prices reps see when they add products. See Creating a Price Book.
- Set up your quote approval process. Decide which quotes need a sign-off and who provides it. See Setting up an approval process.
- Finish app setup in HubSpot. On your Deal record views, remove the default HubSpot Quotes and Line Items cards and add the Quotivity Quotes and Quotivity Deal Line Items cards, so reps build and view quotes through Quotivity instead of HubSpot’s native cards. The Deal Line Items card stays empty when a deal has no line items — that empty state is expected.
When every task shows as complete, your account is ready and your reps can start building quotes in Quote Builder.
- You don’t have to finish the checklist in one sitting — your progress is saved, and you can return to the dashboard anytime.
- Steps are independent enough that you can revisit any of them later as your setup matures.
Related articles
Section titled “Related articles”Ask the help center
Answers come from these guides, with links to the articles used.
Ask anything about configuring quoting in Quotivity Studio.