
Setting up a custom domain
Serve quotes from your own branded domain so buyers see your business in the URL, not a Quotivity address.
This feature requires an Enterprise plan.
Overview
Section titled “Overview”By default, the quotes you send are served from a Quotivity address. With a custom domain, buyers open quotes on your own branded domain instead — a small detail that makes every quote feel like it came straight from your business.
Prerequisites
Section titled “Prerequisites”- An Admin role in Quotivity Studio
- A domain you control, with access to manage its DNS records
- Open Settings → Quote Templates → Hosting Location. This is where you tell Quotivity which domain should serve your quotes. You can have one active custom domain.
- Enter the domain you want to use. Provide the branded domain or subdomain
buyers should see when they open a quote.
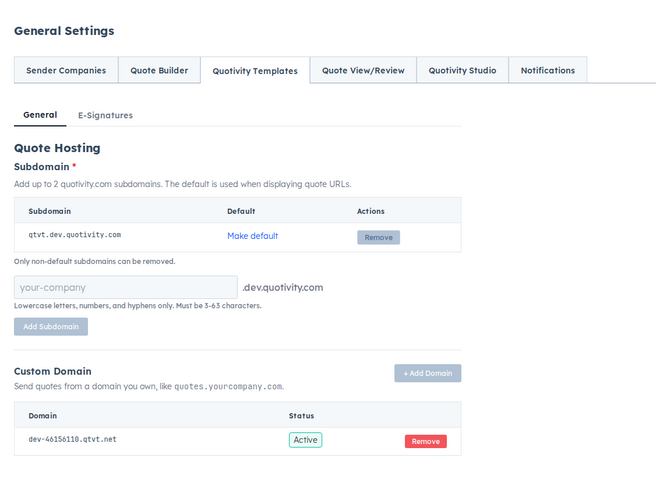
- Add the DNS records at your domain provider. Quotivity shows the records you need to create. Copy them into your domain’s DNS settings to prove ownership and route traffic.
- Verify the domain. Back in Quotivity, confirm the domain so it can check your DNS records. Verification can take a little time after you add the records.
- Confirm it’s live. Once verified, your custom domain is active and new quotes are served from your branded address.
- DNS changes don’t always take effect immediately — if verification fails at first, wait a bit and try again.
- Pair your custom domain with well-branded sender companies so both the URL and the quote itself reflect your business. See Setting up Sender Companies.
Related articles
Section titled “Related articles”Ask the help center
Answers come from these guides, with links to the articles used.
Ask anything about configuring quoting in Quotivity Studio.